If you are accustomed to Windows Forms before, it is hard to decide to jump to WPF, especially if you have to go through the steep learning curve of WPF and MVVM. I have to confess that I started the plugin project as a Class Library to leverage Windows Forms and didn’t though much of WPF. But it was brought to my attention the freedom of WPF to design UI interfaces in a markup language and with similar styling to CSS. So I had to give it a go. The results, which I have included in the plugin, are pretty good to ignore WPF:
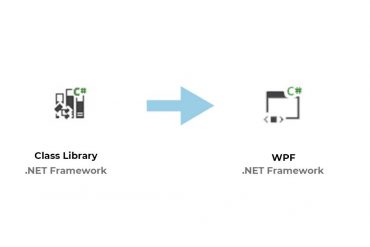
Add WPF to a Class Library
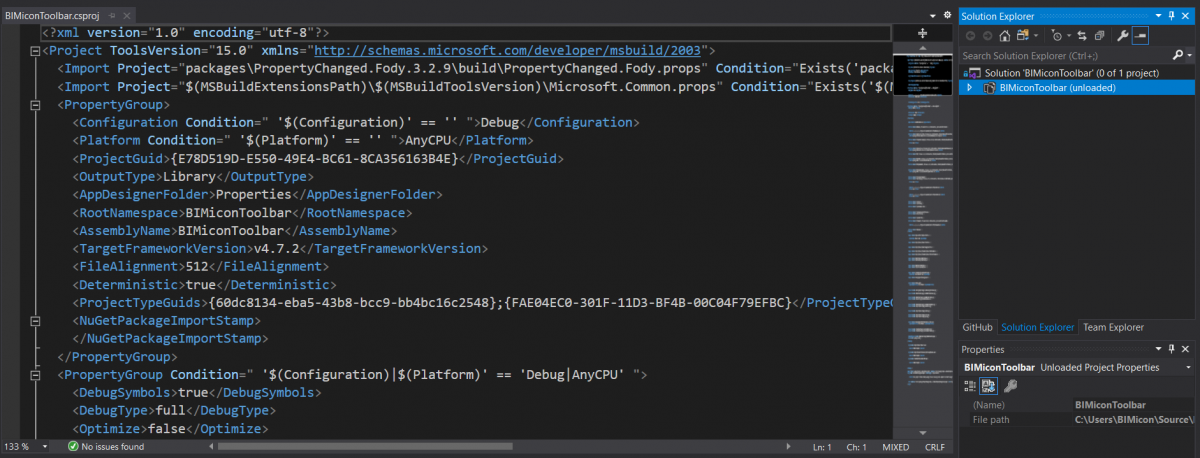
In our post A comprehensive guide to creating a customized Revit tab in C# we started the plugin project as a Class project. We are going to change it to WPF, so we can create some good looking UI by editing the BIMiconToolbar.csproj. This file has saved all the references for the project and compilation options and we are going to edit it:
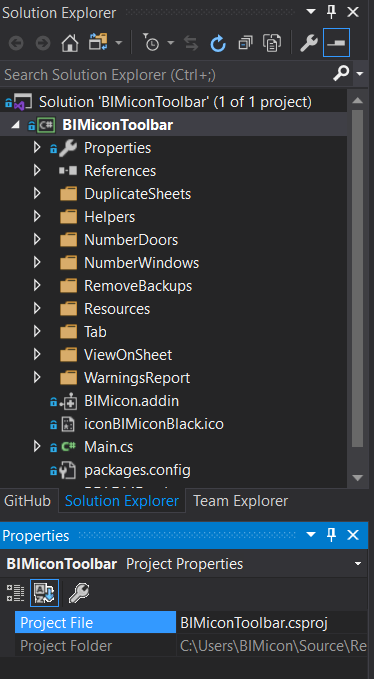
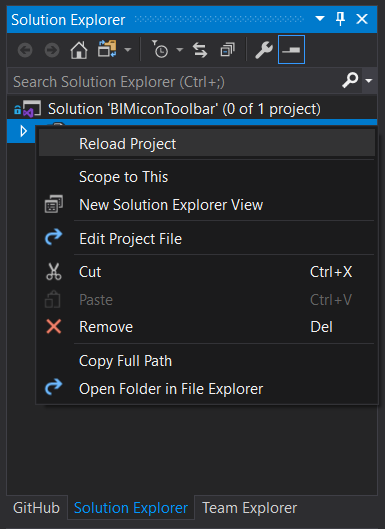
1. Select the project in the Solution Explorer
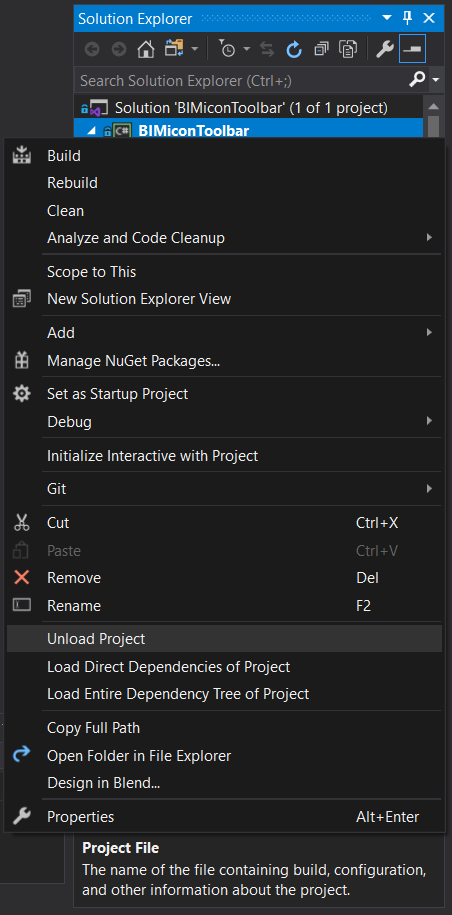
2. Right-click on the Project and click on Unload Project. The csproj file will open
3. Add the following line inside <PropertyGroup> </PropertyGroup> :
<ProjectTypeGuids>{60dc8134-eba5-43b8-bcc9-bb4bc16c2548};{FAE04EC0-301F-11D3-BF4B-00C04F79EFBC}</ProjectTypeGuids>
Here is a list of Visual Studio Project Type GUIDs for your reference, in case more features need to be added to the current project.
4. Inside the <ItemGroup> </ItemGroup>, add these references:
<Reference Include="WindowsBase" />
<Reference Include="PresentationCore" />
<Reference Include="PresentationFramework" />
<Reference Include="System.Xaml" />
5. Save the csproj file
6. Reload the project and now we have the ability to include WPF Windows
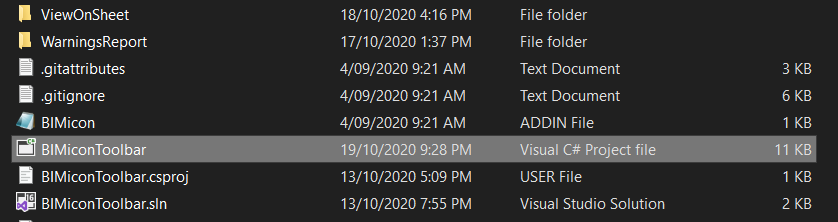
In case you cannot edit the csproj file through Visual Studio Community, you can go to the solution folder, and open the file with a text editor directly:
5 minutes of setup to include WPF in our project. In our next post, we will create our first customized WPF window for user input.
Leave a Reply