In our previous post, Create your own Revit tab in the ribbon, we made our first Revit tab using pyRevit. This is a great approach for prototyping but not so much when dealing with tasks or processes that require performance. In case performance is a top priority, in big models the database grows huge, plugin into the API through compiled code is a must. So, let’s do it in C#.
Requirements for this Revit tab
Here is a list of some nice to have knowledge and tools to get this project done:
- Intermediate knowledge of C#
- Knowledge of Revit’s API, here is a quick intro if you aren’t familiar with it: An impressive way to inspect Revit API: Revit Lookup
- Visual Studio Community 2019, available in here: https://visualstudio.microsoft.com/downloads/
- The code posted in our previous post, Number doors after rooms in Revit using a convenient macro. This will serve as a base code for the toolbar.
Overview of the plugin architecture
The architecture we are going to use for this plugin is shown here:
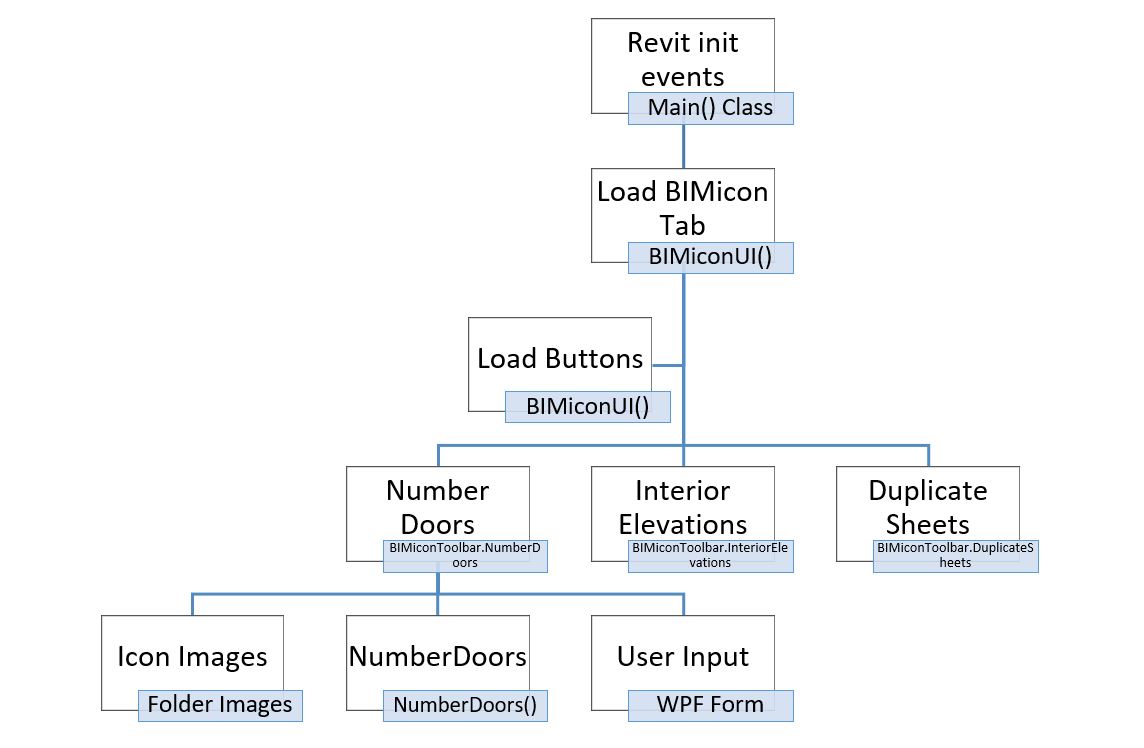
- At the top level, we have the entry point of the program, the class Main(). Revit checks if there is any action to perform at startup or shutdown.
- We specify that Revit should call the static method Toolbar() from the class BIMiconUI at startup. The method is declared static as it does not rely on instance values to be executed.
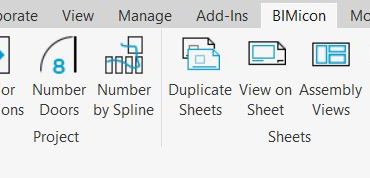
- Inside that method, we create the tab, panel, and button.
- The recently created button link to the resources and classes inside the sub-namespace BIMiconToolbar.NumberDoors.
This structure keeps the project cleaner than having, for example, all the images in a single Resources folder and can be modified easily when the plugin grows.
Create the tab in Visual Studio Community
After this brief intro, let’s get our hands dirty by doing the project. Here are the steps to follow:
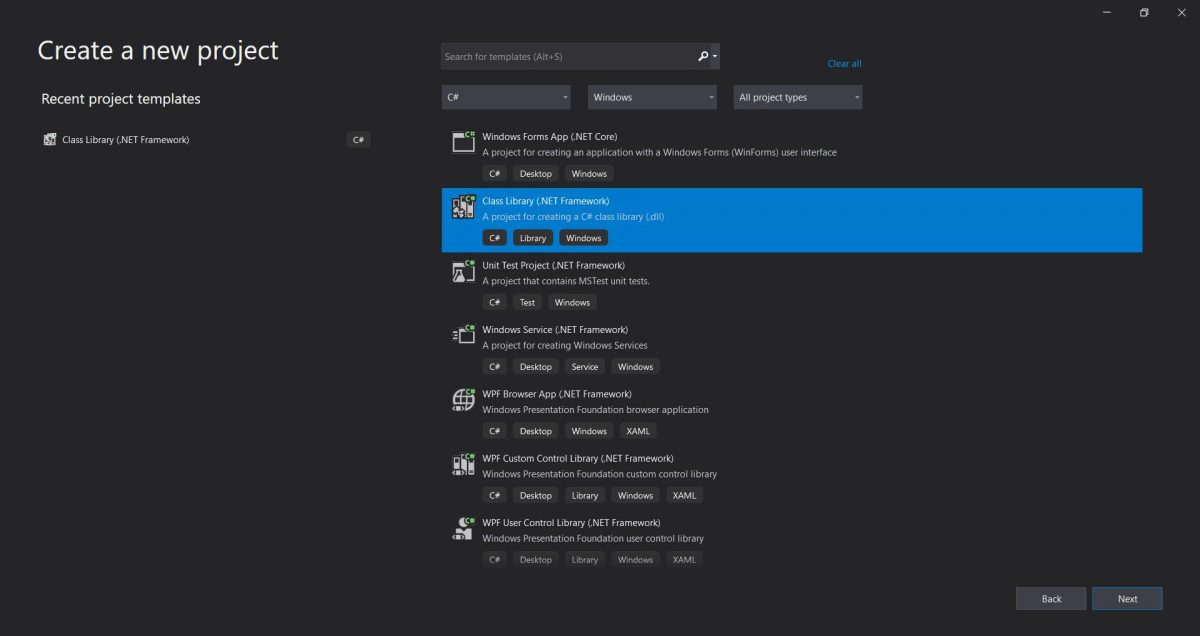
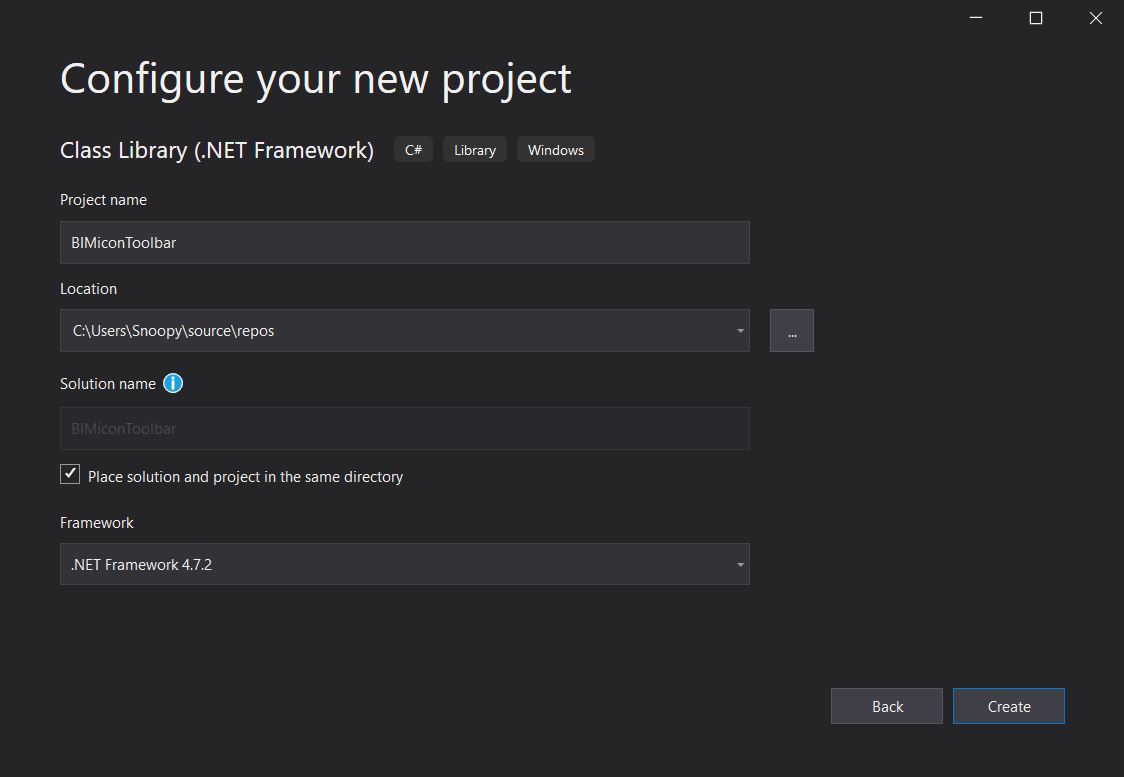
1. Create a new Class Library (.Net framework). This is important, it needs to be .Net Framework and not .Net Standard. If you have selected the wrong one, please go back and create a new project with .Net Framework.
2. Right-click on references in the Solution Explorer and click Add references. Go to the folder where Revit is installed and add these references:
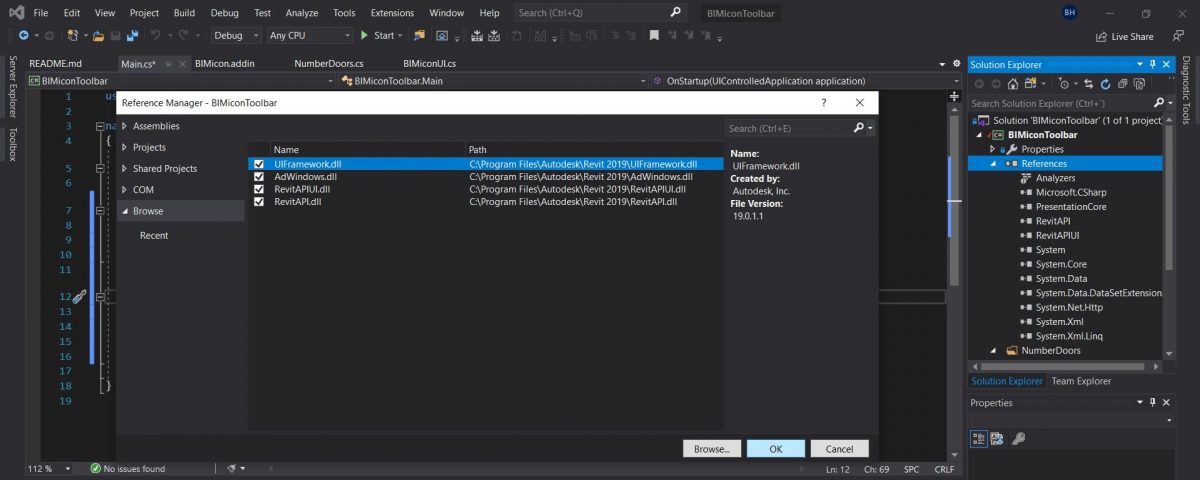
RevitAPI.dll and RevitUI.dll are the main two libraries that allow you access to Revit extra functionalities. UIFramework and AdWindows are two extra libraries required for the video to reproduce in Tooltip. If you are not using tooltip videos these two are optional. Kudos to Jeremy for sharing this excellent tip about getting the video to play, otherwise I would probably go crazy:
https://thebuildingcoder.typepad.com/blog/2012/09/video-animated-ribbon-item-tooltip.html
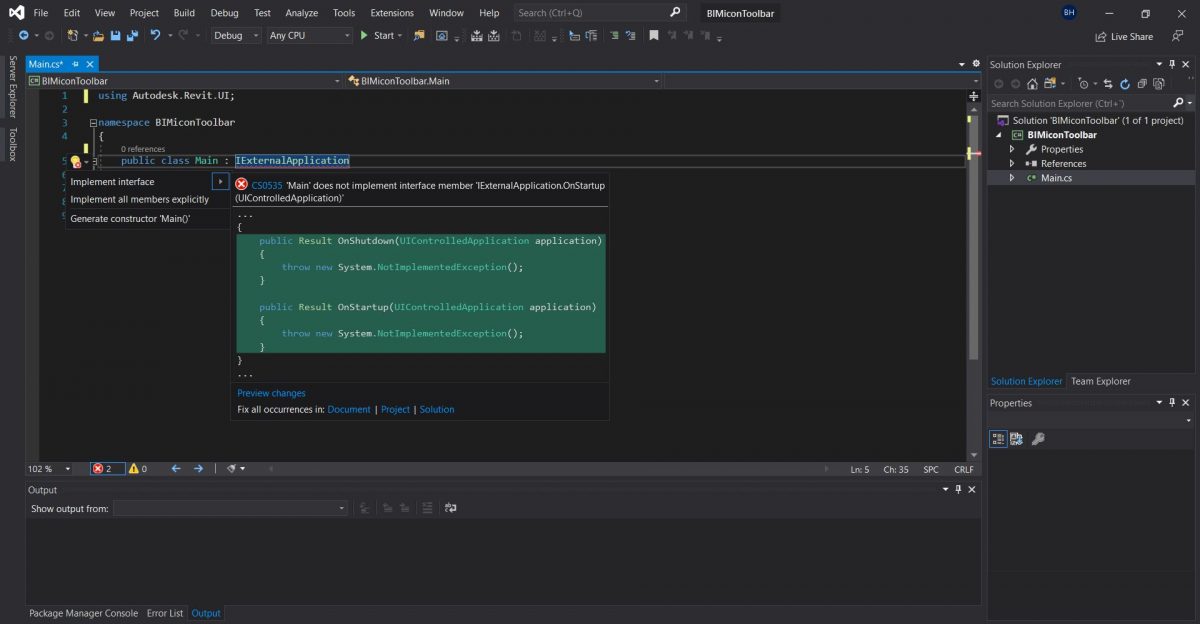
3. Rename the Class 1 to Main, this is the plugin’s entry point. Implement the IExternalApplication interface, which has two methods, OnStartup and OnShutdown:
https://www.revitapidocs.com/2015/d893b9a7-6f3e-bf1f-f4d6-5fbc269544bb.htm
An easy way to implement this is by typing the “: IExternalApplication” part and right-click to refactor it. This works with any interface implementation, IExternalCommand included, so it can save us some time.
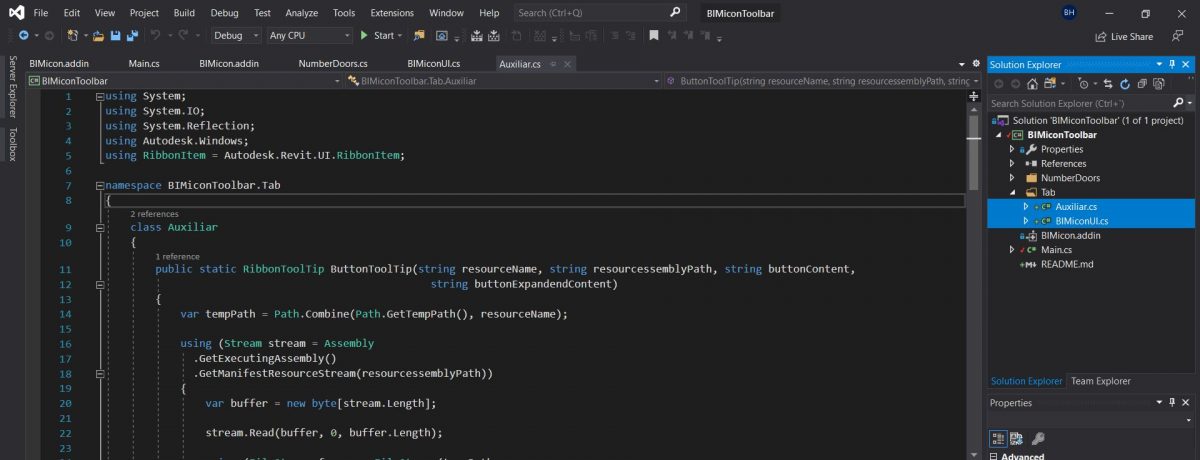
4. Create a Tab folder, this folder will contain all the classes that build the toolbar and add two new classes. Rename them as BIMiconUI and Auxiliar. Copy the code you can find in my repository in Github:
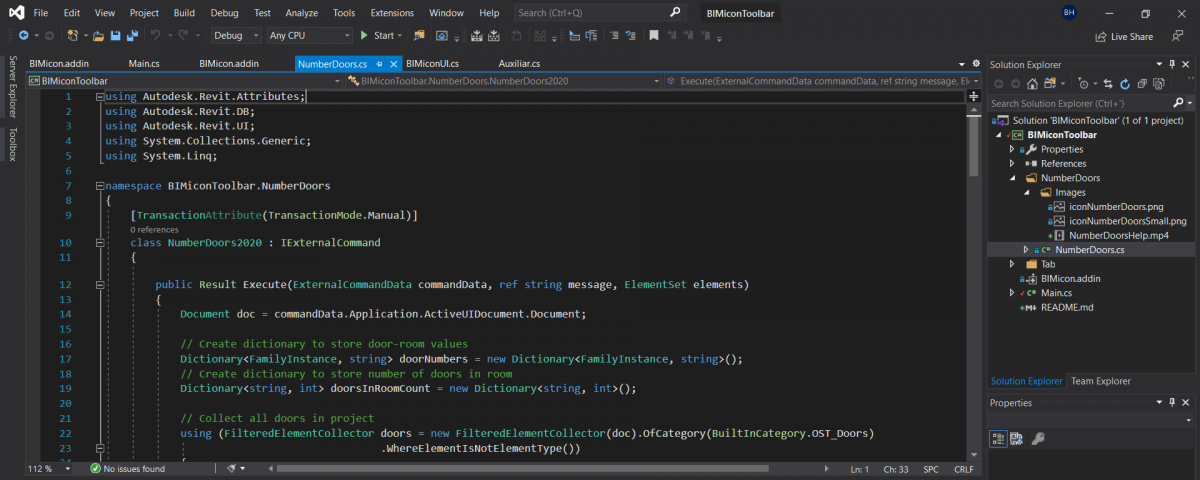
5. Create a new folder named NumberDoors and add a class in which we will copy the code we used in the previous macro.
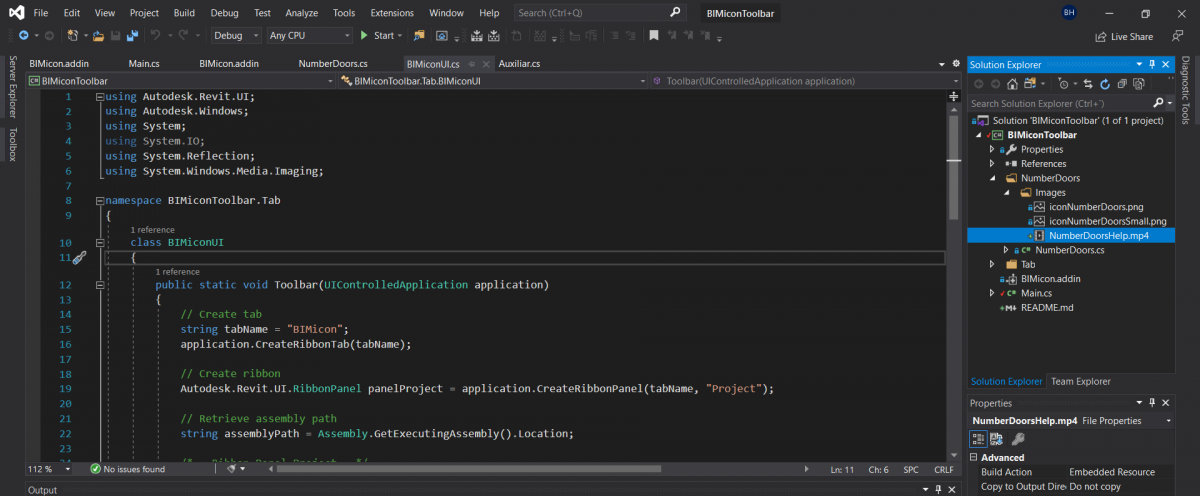
6. Inside the NumberDoors folder add a folder named Images. The Images folder contains the button icons and every image and video, if there are any, must be set as Resource. This will embed all the images in the assembly, instead of being copied to a location in the drive.
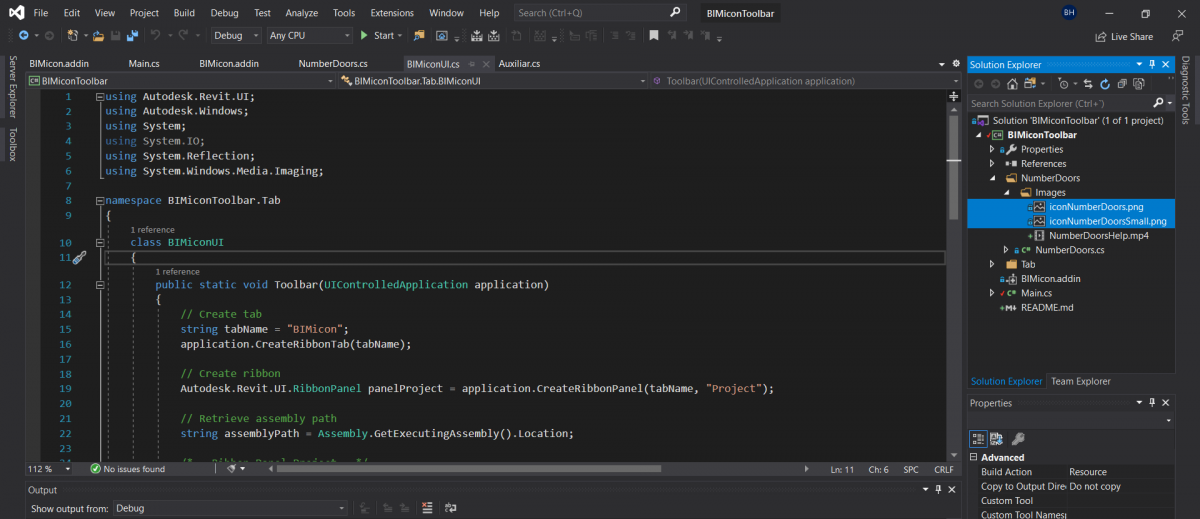
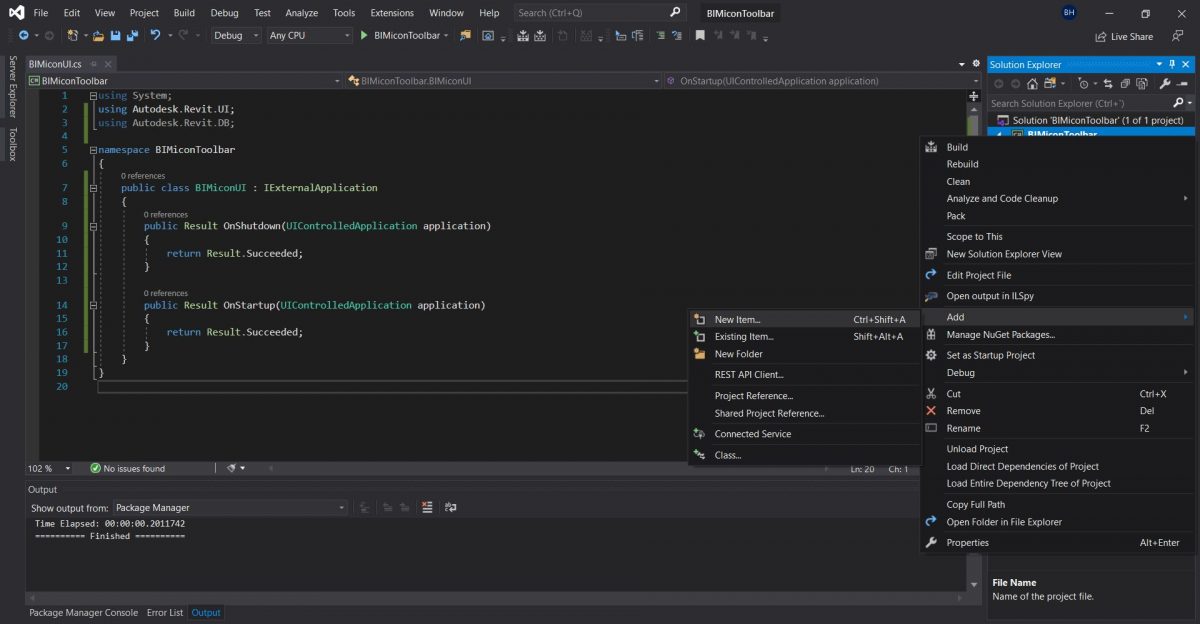
7. Create a new add-in file in the main directory by right-clicking the Project and select Add > New File or File > New > File…
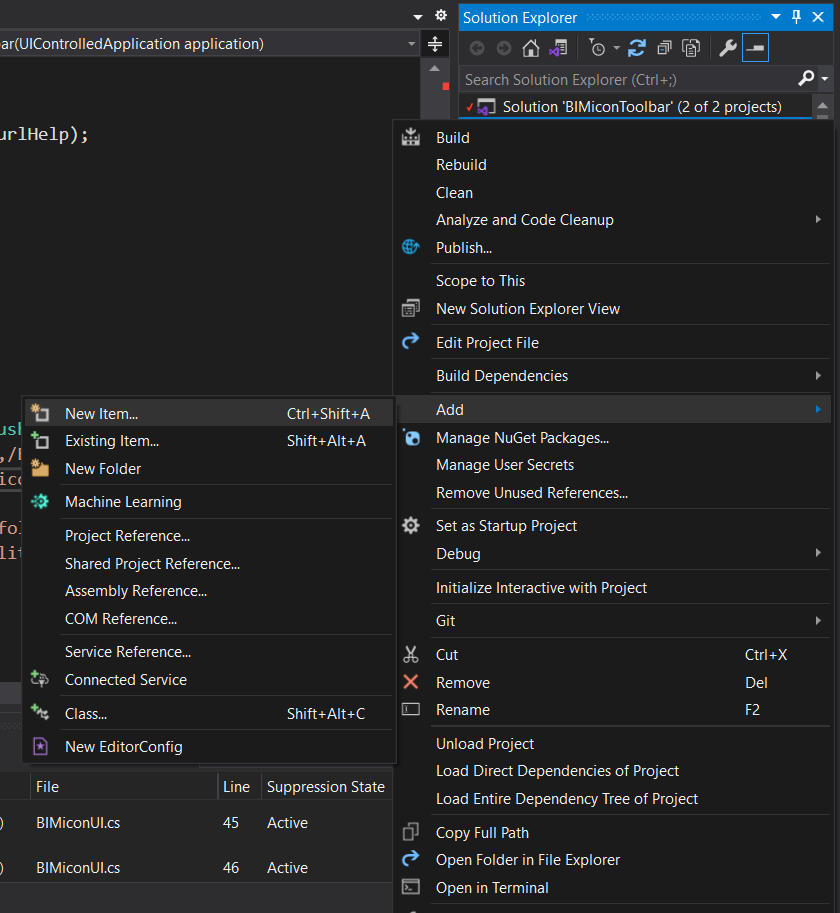
Select Text File as a template and name it with the extension .addin
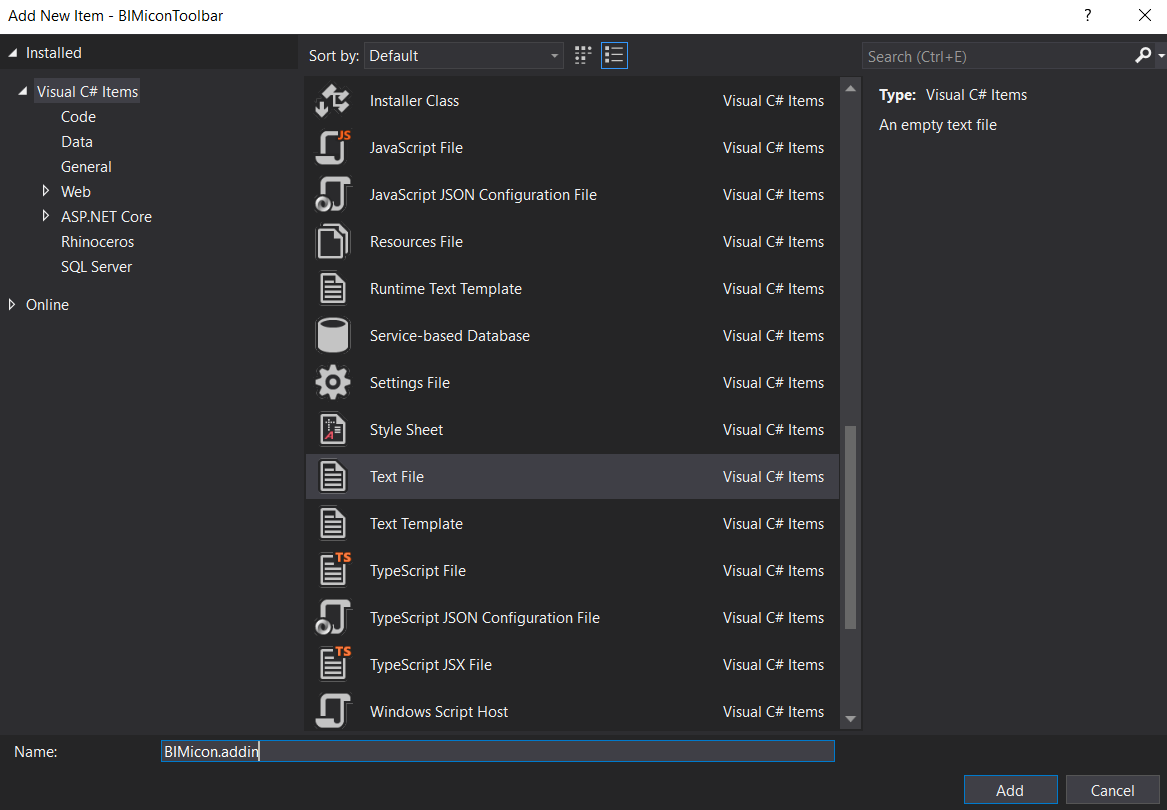
Following is an example of a bare minimum addin file.
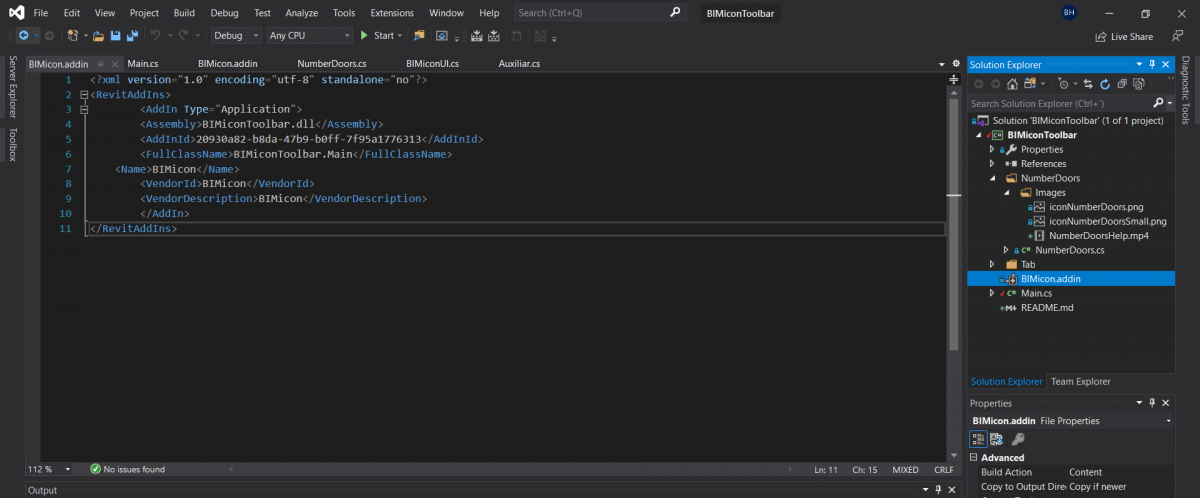
FullClassName points to the IExternalApplication class in the project that will launch the plugin, in this case, BIMiconToolbar.Main.
The AddinId is a random GUID, you can use any you prefer, just don’t reuse the same guide for different plugins.
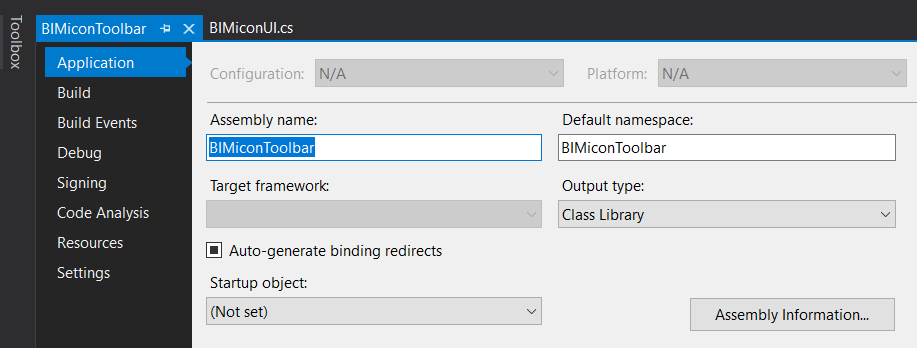
Assembly needs to point to the name of the dll, which is configured in Project > Properties
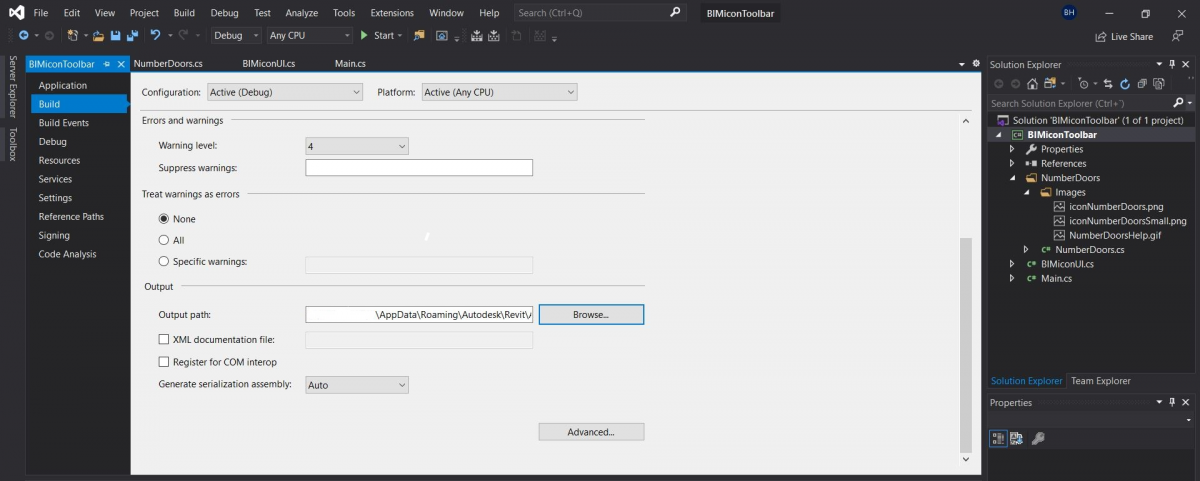
Set up the Build Action as Content and Copy to Output Directory as Copy if newer.
8. Set up the Build Output path to:
%appdata%\Autodesk\Revit\Addins\2019
Substitute 2019 for your version
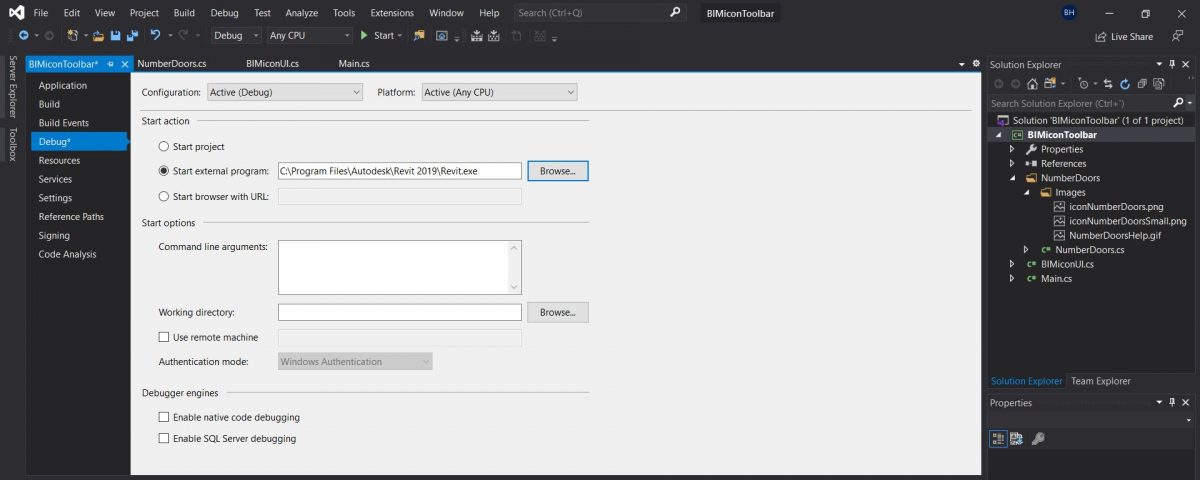
9. In Debug, Start action select Start external program and select Revit.exe from your Revit installation folder, usually in:
C:\Program Files\Autodesk\Revit 2019\Revit.exe
Now the moment of truth, you can press the Start Debugging button. The source code will compile as an assembly in the selected destination folder. If there were no errors, an instance of Revit will be launched and the toolbar should load in Revit.
Here is the compiled dll ready to use, just copy it and extract in the Revit Addins folder:
In case you are interested in the source code, here is the repository in Github:
Leave a Reply