Checking the Revit API documentation, for those advanced Revit users that are looking into developing their own tools, is a cumbersome task. Looking for what they need in the docs is like trying to find a needle in a haystack if you don’t know where to start. How do I find the properties or methods I need? Furthermore, how do I know what to look for? well, in this post you will find some of the answers to these questions.
Revit API documentation
My favorite way to search in the Revit API docs is online:

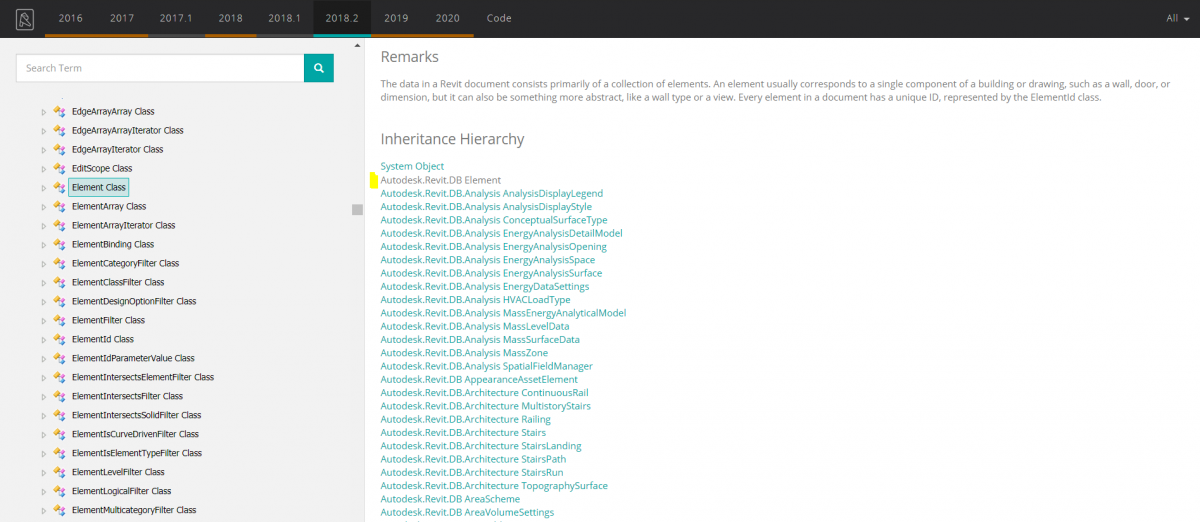
It is the collection of Revit.chm documents you would find if you install Revit’s SDK. The website divides the documentation between the different Revit releases you can select at the top of the website:
In this case we have selected the 2018.2 version:
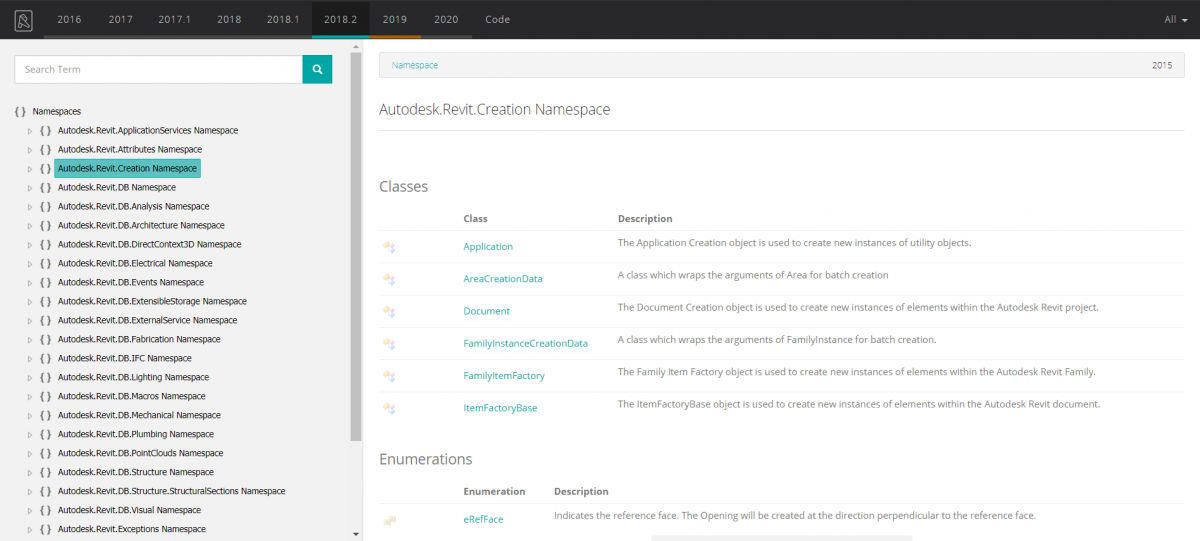
The selected version is underlined in blue. If you select a namespace or class that has been updated, you will know in which version as it will be underlined in brown. In case the class is deprecated, you will see the version underlined in red. And the last case, if it remains the same across versions, you won’t see any highlight. No news could mean good news as you won’t have to worry about version compatibility.
Now, let’s find what we need in this ocean of information.
Revit Lookup
This amazing tool is maintained by Jeremy Tammik, and the repository is open to the public in Github.
Revit Lookup is one of the essential tools for a Revit developer. I am not kidding. If I have to rank it and compare it with the tools you need, I would say it is as useful as Googling. So, yes, you need to install it right away:
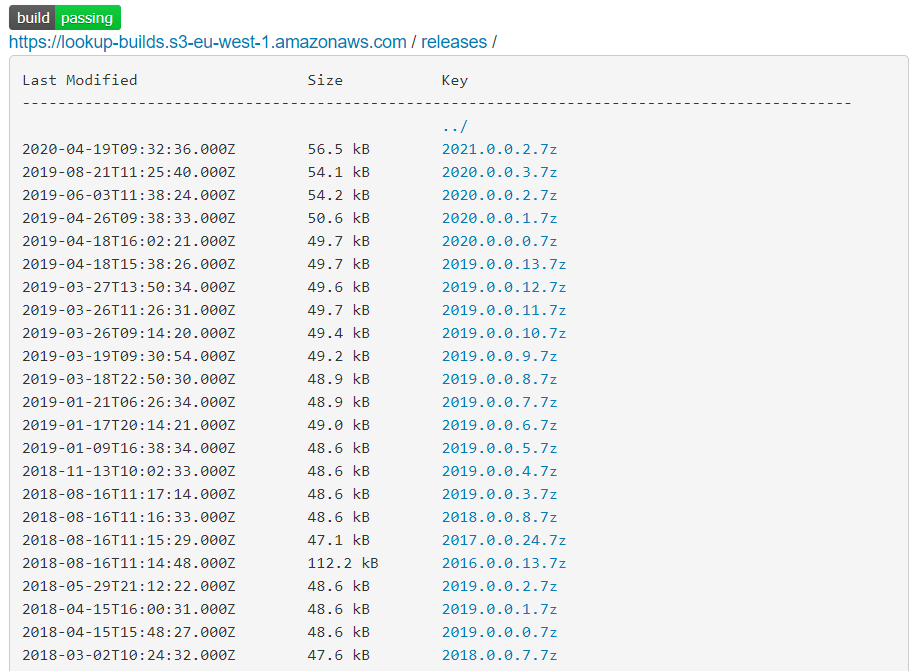
https://lookupbuilds.com/index.html?prefix=releases/
Download the latest version that matches your Revit version. For example, if you use Revit 2019, download the version 2019.0.0.13.
Once downloaded, extract the two files inside, the .dll and .addin files into:
%appdata%\Autodesk\Revit\Addins\2019
Obviously, if you have 2016 or 2021, the folder would be 2016 or 2021 instead of 2019.
Once it is installed, we can proceed to target the documentation we need to check in the API. For this purpose, we are going to explain a bit more about our previous post on how to create our first macro.
So, once we have selected the Model Line, we will want to get it to work in some way for us. In this case, I can tell you in advance, that we are going to use it for renumbering parking spaces and rooms. So, we may want to check the possibilities, meaning methods and properties, that this element can offer us.
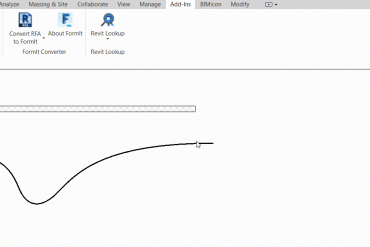
There are several ways to use Revit Lookup, which is located in Add-Ins. There are plenty of ways to check the property of an element, for example, Snoop DB allows us to check all the elements in the current Revit document while Snoop Current selection will check for the selected object properties. But in our case, we are going to use Snoop Current Selection.
Anatomy of a Lookup query
Once we have selected the element we want to check, in this case, a Model Line, we go to Add-Ins > Revit Lookup > Snoop Current Selection. And the following window opens:
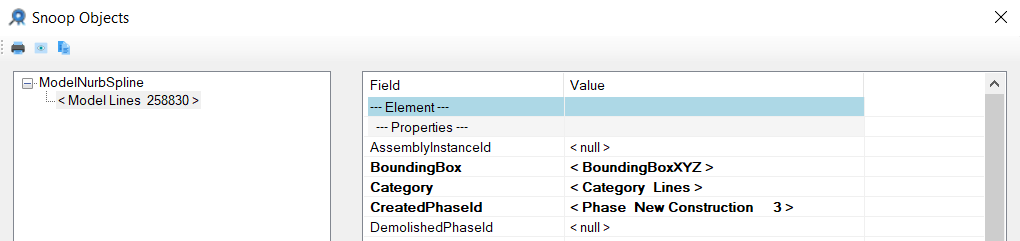
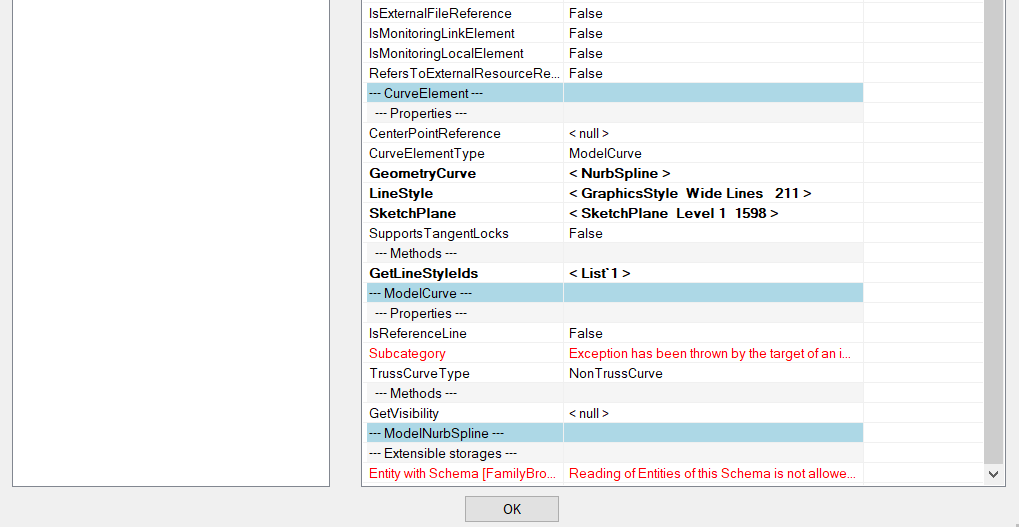
The basic structure of how all the information is structured is as follows:
- Top-level class: Element, this is the main object from which most of the elements you work inside a Revit document come from, like walls, doors, columns, rooms, and so on. By inheritance, all the previous cited elements have a common ancestor, the Element class, meaning that you can access properties and methods the Element class has. For example, Bounding Box or Id are properties inherited from Element. In case you haven’t read about inheritance, here is an interesting way to learn about it: https://www.tutorialspoint.com/csharp/csharp_inheritance.htm
- A level above selected element: CurveElement, this class adds more specific functionality to the selected element.

- Selected element class: ModelCurve, this is the selected element and in this section, all the specific properties and methods of this class are displayed.
- A level below the selected element: ModelNurbSpline, this is the class that inherits from our selected element.
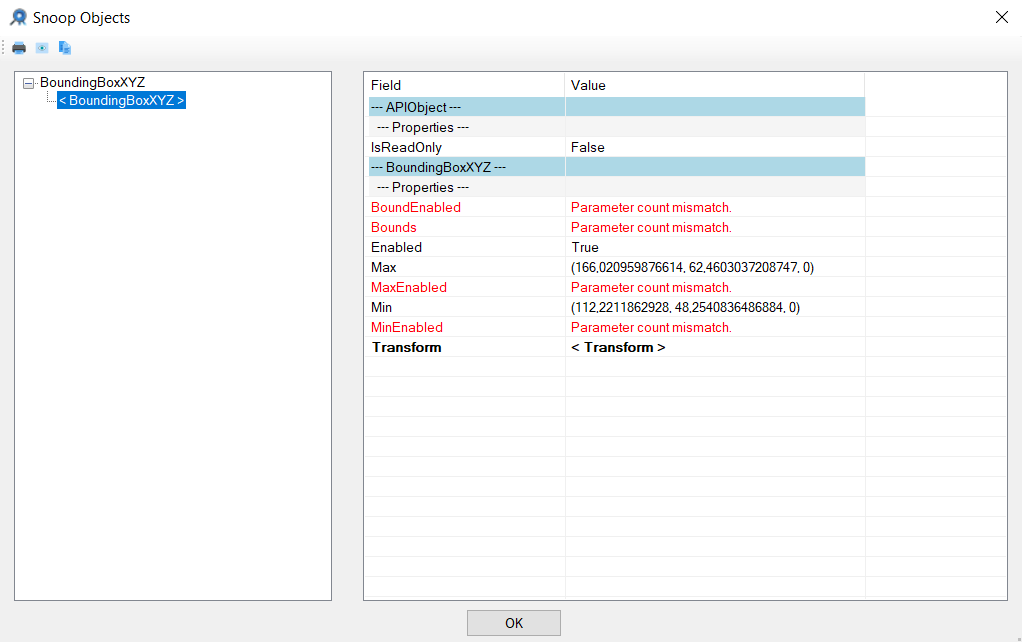
If the listed Properties and Methods are in bold font, that means you can access more information by double-clicking on them. For example, BoundingBox is in bold font, so once we double click, this window shows:
For now, we will finish this post, but we will keep looking into this amazing tool if you find this info useful! Comment and let us know.
PS. Update in the Revit API documentation. Gui Talarico has released another website that is being updated:
So for future reference, this is the website to go for Revit API documentation. Have fun!
Leave a Reply