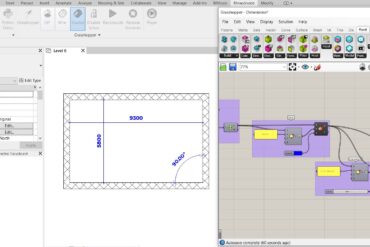
A few weeks ago, working on a project which has been on the baking for 3 and half years, and was passed on uncountable hands, I found myself in the need to match all the different dimension types. The styles included color, font family, font size, tick extension among others. As you can imagine, my hands refused to do this manually, so here goes automation! But among the many tools available to do it, one new cool kid entered the block: Rhino.Inside Revit.
We know that Rhino is unbeatable when modeling curved geometry, and Grasshopper is beyond excellent for parametric design. But how do those two elements converge in Revit? Well, that was my first question as well, and this is the first post in a series of articles to show how it is linked.
Getting and installing Rhino and Rhino.Inside Revit
In case you haven’t Rhino installed, there is a free trial for 90 days, one of the most generous trial periods offered in the AEC industry, at:
https://www.rhino3d.com/download/
And get Rhino.Inside Revit in the following site:
https://www.rhino3d.com/inside/revit/1.0/
Controlling Revit parameters with Rhino.Inside and Grasshopper
Now to the fun part. Going back to the example mentioned at the beginning, let’s make all the dimension styles with the same color, thickness, tick thickness, and text font.
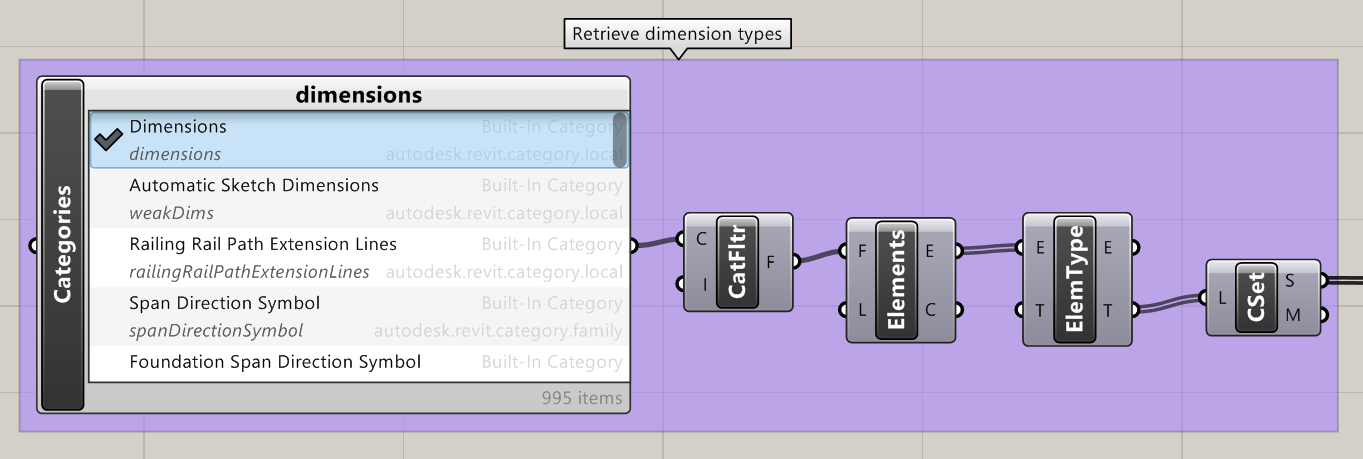
First, we retrieve all dimension types from the current Revit document:
Then, we set the color to all the dimension types in the document. If we want to filter then, we can use the Dispatch component as Filter by Boolean Mask in Dynamo:
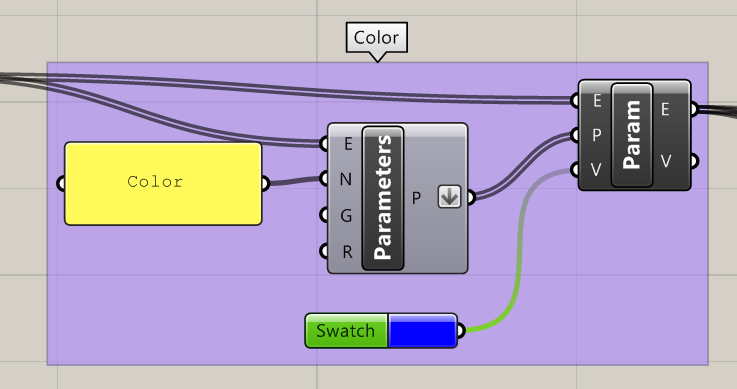
We repeat this group of components as many times as parameters we want to change:
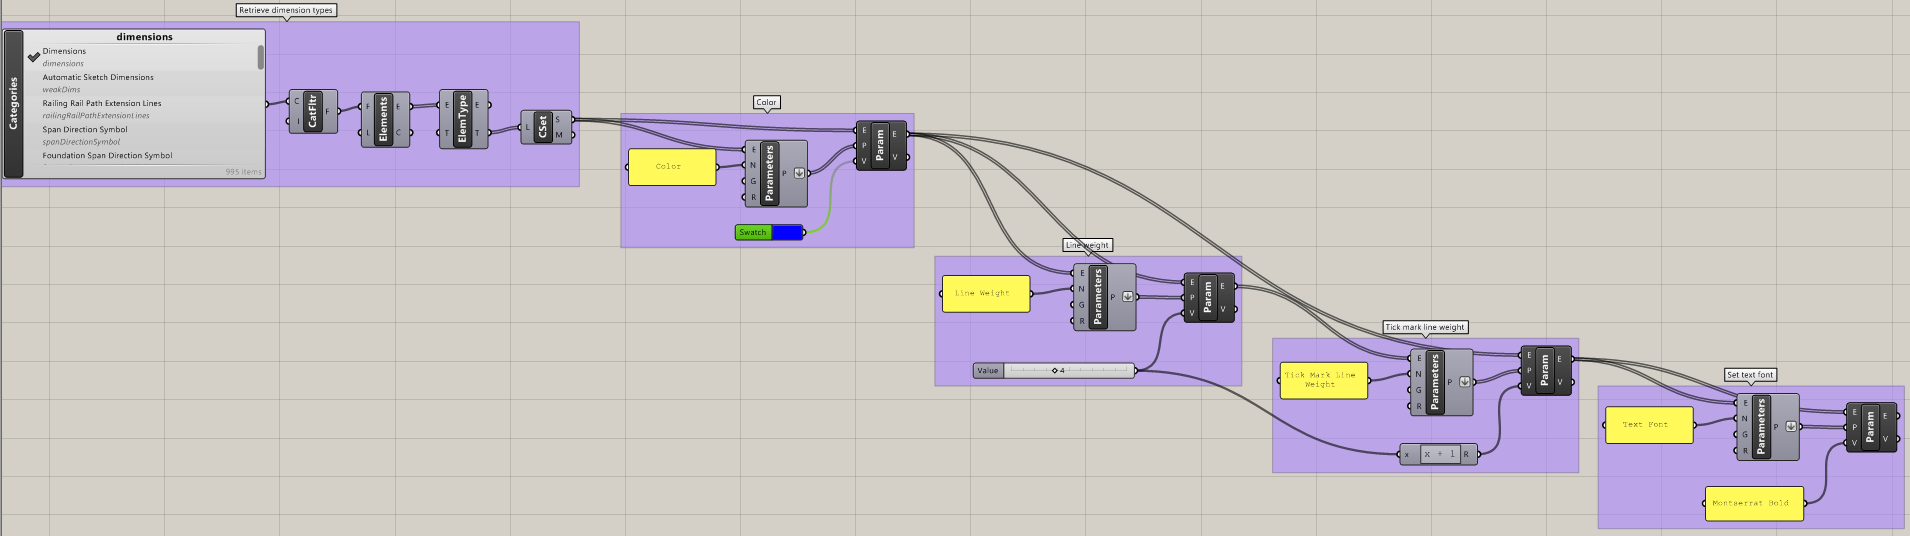
Here is the complete GH script:
In my next post, I will create a template for Grasshopper to start every project, as this template for Dynamo.
Leave a Reply