The main purpose of this tool is to provide a solution for the default Revit matrix that allows for the rectangular or polar option.
This example will make evident and easy to understand why the division between front-end and back-end and the color scheme. It is also quite helpful as it will provide a tool to place families along a curve in Revit besides arcs and lines.
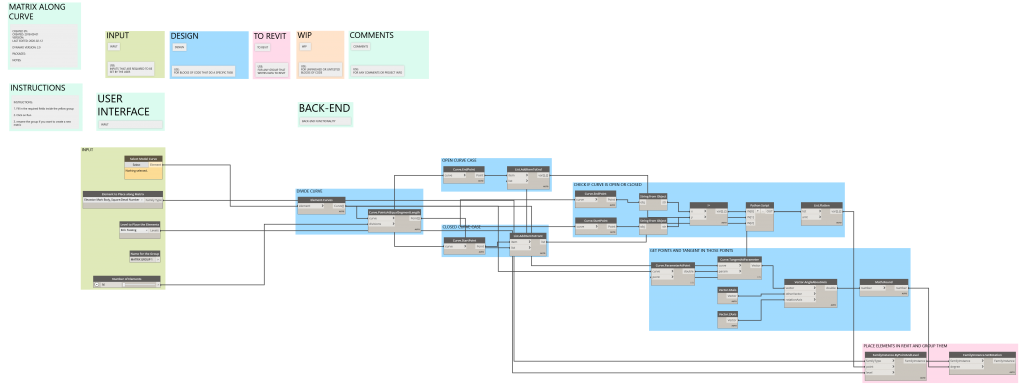
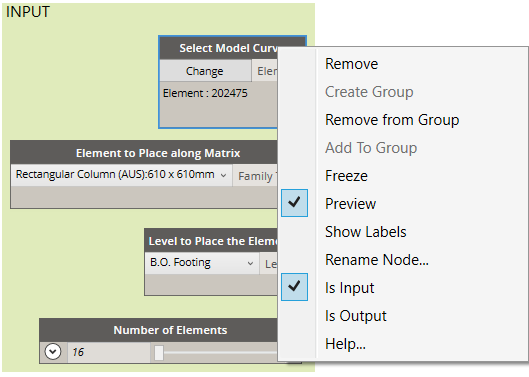
GROUP 1 – Everything that requires user input is contained in this group. If you plan to use the script in Dynamo Player, Is Input needs to be ticked.
GROUP 2 – The first subgroup divides the curve into the specified number of same length segments. It later adds the start point to the list of points dividing the curve in case the curve is closed and both start and endpoint in case it is an open one.
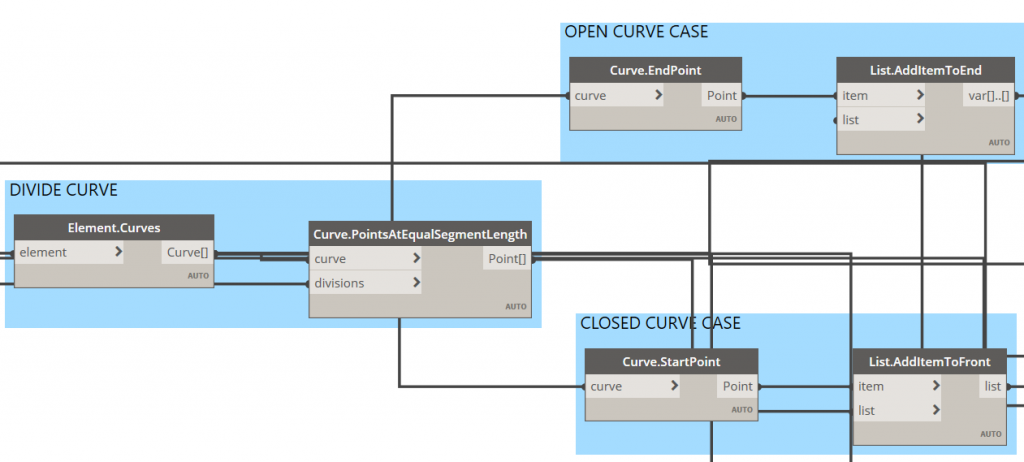
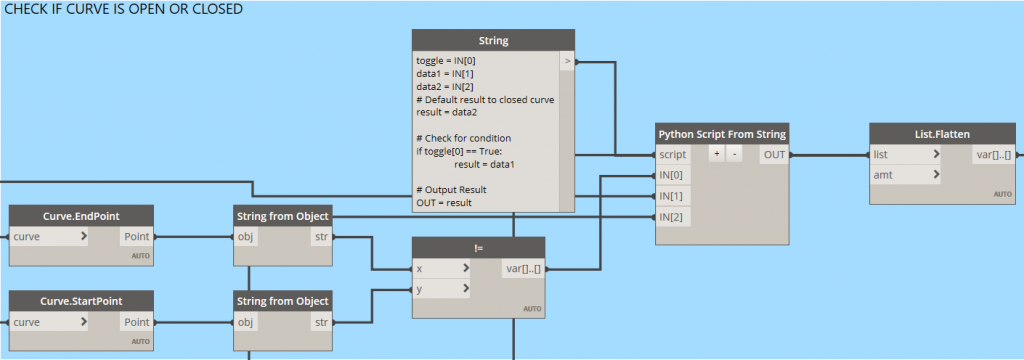
GROUP 3 – Check if the curve is an open or closed curve. If this condition is not checked, closed curves will have an element duplicated in its start and endpoint (they are coincident) or it will be a missed element in case of an open curve.
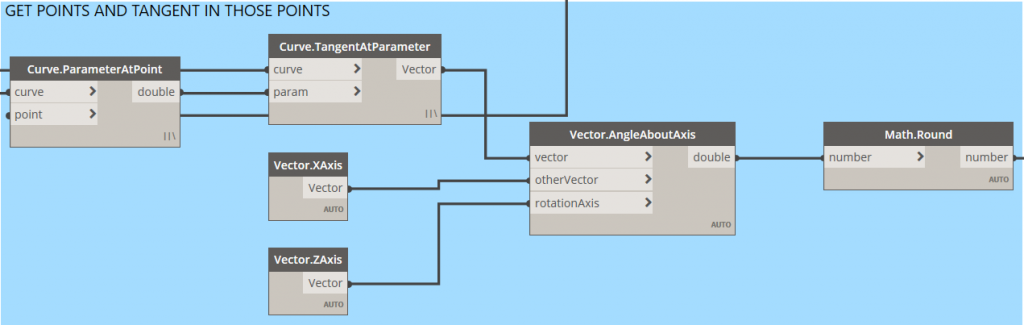
GROUP 4 – This group obtains the tangents to the curve in the division points. This is to set the rotation of the placed instances; otherwise, all of them would be placed orthogonally. Something odd that happened to me, is that Curve.ParameterAtPoint and Curve.TangentAtParameter was using only the first point of the list and had to change the lacing from Auto to Longest.
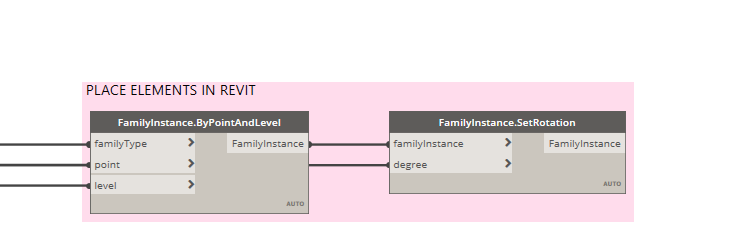
GROUP 5 – Finally, having all the placement points and the rotation angles, they are used to place the selected family.
Feel free to download the script:
And everything is set up for you to design some nice boulevards full of beautiful trees!
Leave a Reply