A few posts ago, we changed our project to be able to create WPF windows inside it, Class Library to WPF, and today we are taking advantage of it to create our first custom WPF window for user input.
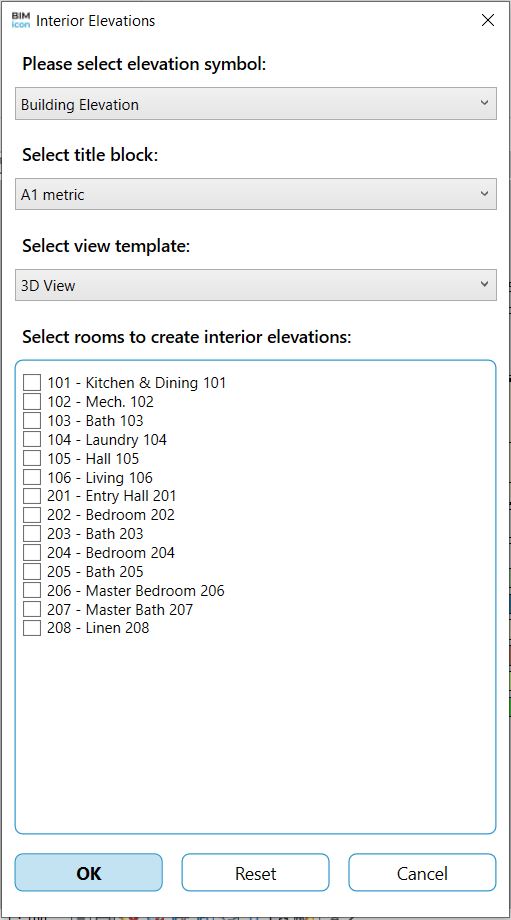
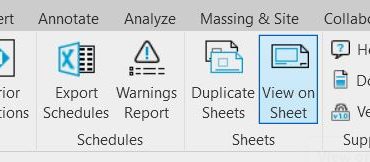
User input to select sheet/s to place active view
In Revit, most of the functionality is determined by user inputting information for the program to process it. It is no different with our plugin.
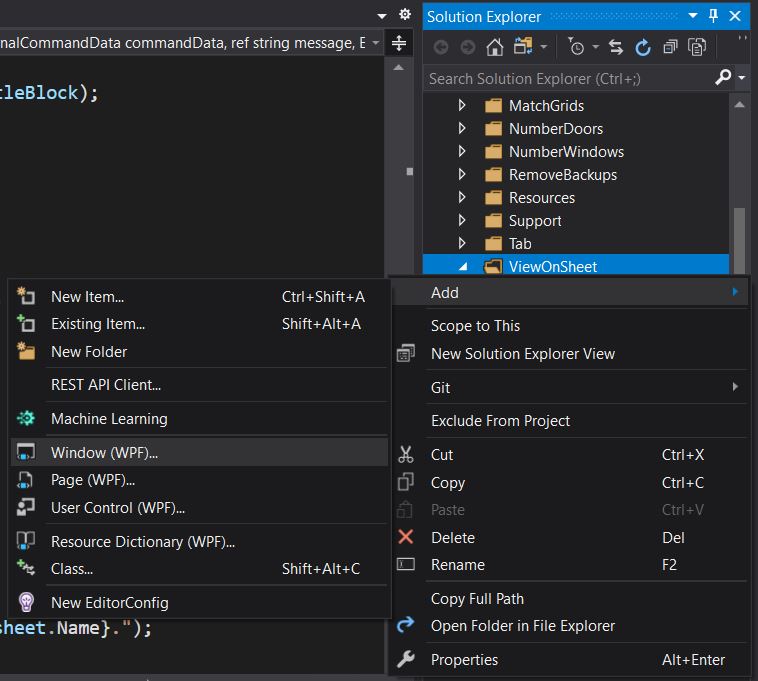
We will start creating a folder to contain all the classes and resources for our tool View on Sheets, and this is the difference between our previous tools, add a WPF Window.
Once that is done, here is the organization of our tool:
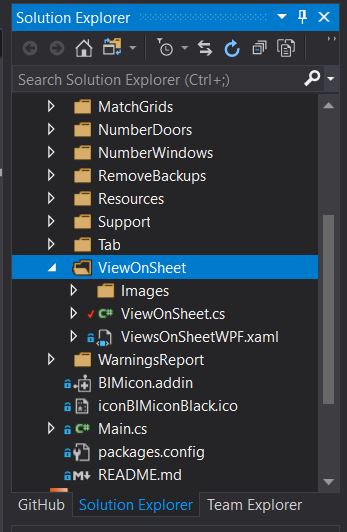
The ViewOnSheet class contains the back-end functionality, implementing IExternalCommand. The exciting part of this tool is the WPF Window that we have renamed ViewOnSheetWPF.xaml. The content is detailed here:
<Window x:Class="BIMiconToolbar.ViewOnSheet.ViewSheetsWindow"
        xmlns="http://schemas.microsoft.com/winfx/2006/xaml/presentation"
        xmlns:x="http://schemas.microsoft.com/winfx/2006/xaml"
        xmlns:d="http://schemas.microsoft.com/expression/blend/2008"
        xmlns:mc="http://schemas.openxmlformats.org/markup-compatibility/2006"
        mc:Ignorable="d"
        FocusManager.FocusedElement="{Binding ElementName=OK}"
        Icon="../Resources/Logos/iconBIMiconBlack.ico"
        ResizeMode="NoResize"
        Title="Views On Sheet" Height="520" Width="420"
        WindowStartupLocation="CenterScreen">

    <!-- Use dictionary as style -->
    <Window.Resources>
        <ResourceDictionary>
            <ResourceDictionary.MergedDictionaries>
                <ResourceDictionary Source="..\Helpers\ResourceDictionaries\DictionaryWindows.xaml" />
            </ResourceDictionary.MergedDictionaries>
        </ResourceDictionary>
    </Window.Resources>

    <!-- Content displayed to user -->
    <Border Style="{StaticResource SingleContainer}">
        <StackPanel>
            <!-- First title -->
            <TextBlock Style="{StaticResource FirstTitle}">
                Please select sheet/s to place current view:
            </TextBlock>

            <!-- Scroll to display selectable elements -->
            <Border Style="{StaticResource OuterBorder}">
                <ScrollViewer HorizontalAlignment="Left" Margin="0,0,0,0" VerticalAlignment="Top" VerticalScrollBarVisibility="Visible" Width="375">
                    <StackPanel x:Name="sheets" />
                </ScrollViewer>
            </Border>

            <!-- Buttons End -->
            <Grid Style="{StaticResource MainButtons}">
                <Grid.ColumnDefinitions>
                    <ColumnDefinition Width="*"/>
                    <ColumnDefinition Width="*"/>
                    <ColumnDefinition Width="*"/>
                </Grid.ColumnDefinitions>
                <Button x:Name="OK" Click="OK_Click" Content="OK" Grid.Column="0" IsDefault="True" Margin="0 0 10 0"></Button>
                <Button x:Name="reset" Click="Reset_Click" Content="Reset" Grid.Column="1"  Margin="5 0 5 0"></Button>
                <Button x:Name="cancel" Click="Cancel_Click" Content="Cancel" Grid.Column="2" Margin="10 0 0 0" IsCancel="True"></Button>
            </Grid>
        </StackPanel>
    </Border>

</Window>
Lines 7 to 11: defines the window to focus on the OK button by default, set an icon in the top left corner, size and position as well as no resizeable.
Lines 14 to 20: references styles from a dictionary. This enables us to change the style in one place, so we get a consistent visual style in all windows.
Lines 31 to 35: sets a container to be populated with controls dynamically, in this case check boxes.
Lines 38 to 48: buttons to control the window, bidden to functions with Click=””.
Now, without using the MVVM pattern, we are getting this window to work, which will be much easier to understand at this point. In later examples, we will definitely prepare some MVVM examples.
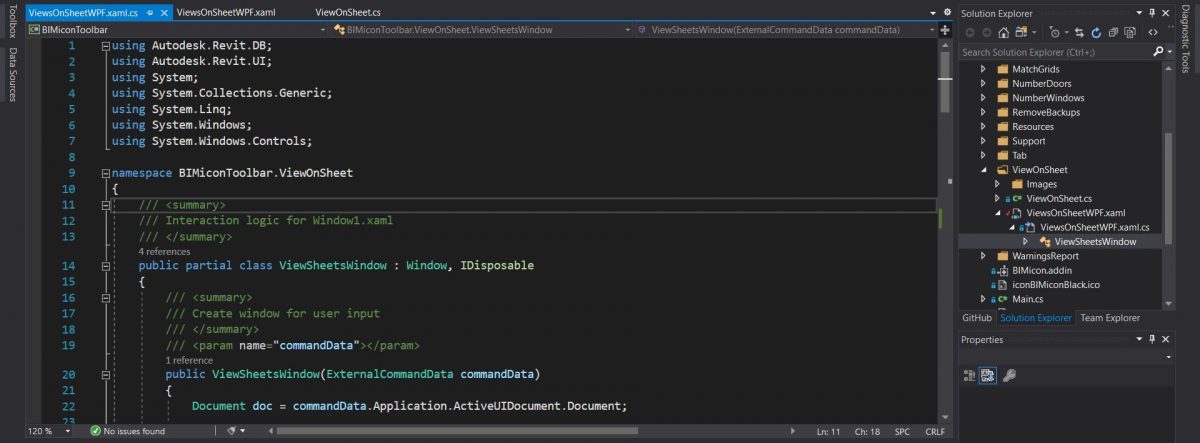
Expand the ViewOnSheetWPF.xaml.cs and you can see the ViewSheetsWindow, where we have placed all logic:
using Autodesk.Revit.DB;
using Autodesk.Revit.UI;
using System;
using System.Collections.Generic;
using System.Linq;
using System.Windows;
using System.Windows.Controls;

namespace BIMiconToolbar.ViewOnSheet
{
    /// <summary>
    /// Interaction logic for Window1.xaml
    /// </summary>
    public partial class ViewSheetsWindow : Window, IDisposable
    {
        /// <summary>
        /// Create window for user input
        /// </summary>
        /// <param name="commandData"></param>
        public ViewSheetsWindow(ExternalCommandData commandData)
        {
            Document doc = commandData.Application.ActiveUIDocument.Document;

            InitializeComponent();
            SheetCheckboxes(doc);
        }

        /// <summary>
        /// Make window disposable
        /// </summary>
        public void Dispose()
        {
            this.Close();
        }

        /// <summary>
        /// Dynamically populate checkboxes
        /// </summary>
        /// <param name="doc"></param>
        private void SheetCheckboxes(Document doc)
        {
            FilteredElementCollector sheetsCollector = new FilteredElementCollector(doc).OfCategory(BuiltInCategory.OST_Sheets);

            IOrderedEnumerable<ViewSheet> vSheets =  from ViewSheet vSheet in sheetsCollector orderby vSheet.SheetNumber ascending select vSheet;

            foreach (var sheet in vSheets)
            {
                CheckBox checkBox = new CheckBox();
                checkBox.Content = sheet.SheetNumber + " - " + sheet.Name;
                checkBox.Name = "ID" + sheet.Id.ToString();
                sheets.Children.Add(checkBox);
            }
        }

        /// <summary>
        /// Store selected sheets for main programs use
        /// </summary>
        public List<int> listIds = new List<int>();

        /// <summary>
        /// Function to reset selected elements
        /// </summary>
        /// <param name="sender"></param>
        /// <param name="e"></param>
        private void Reset_Click(object sender, RoutedEventArgs e)
        {
            var list = this.sheets.Children.OfType<CheckBox>().Where(x => x.IsChecked == true);

            foreach (var x in list)
            {
                x.IsChecked = false;
            }
        }

        /// <summary>
        /// Cancel button function to exit the window
        /// </summary>
        /// <param name="sender"></param>
        /// <param name="e"></param>
        private void Cancel_Click(object sender, RoutedEventArgs e)
        {
            this.Dispose();
        }

        /// <summary>
        /// Function to execute when click OK button
        /// </summary>
        /// <param name="sender"></param>
        /// <param name="e"></param>
        private void OK_Click(object sender, RoutedEventArgs e)
        {
            // Retrieve all checked checkboxes
            IEnumerable<CheckBox> list = this.sheets.Children.OfType<CheckBox>().Where(x => x.IsChecked == true);

            // Add all checked checkboxes to global variable
            foreach (var x in list)
            {
                // Retrieve ids of checked sheets
                int intId = Int32.Parse(x.Name.Replace("ID", ""));
                listIds.Add(intId);
            }

            this.Dispose();
        }
    }
}
Some remarks about the code:
Lines 40 to 53: this function is called when the window is instantiated. It will populate the checkboxes section with all the available sheets in the project.
Lines 90 to 104: the function that returns the selected checkboxes, storing them in a property inside the windows. The main class will have access to this property through the instantiated window.
Here is the source code.
Leave a Reply